
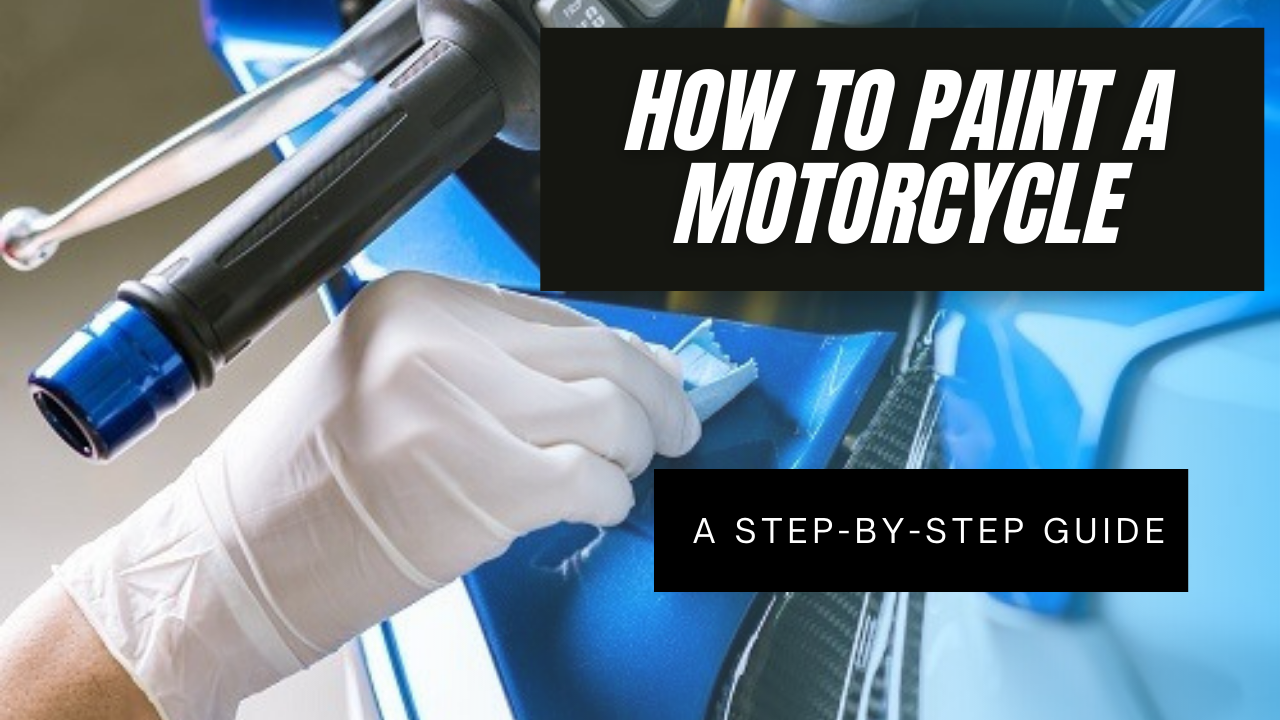
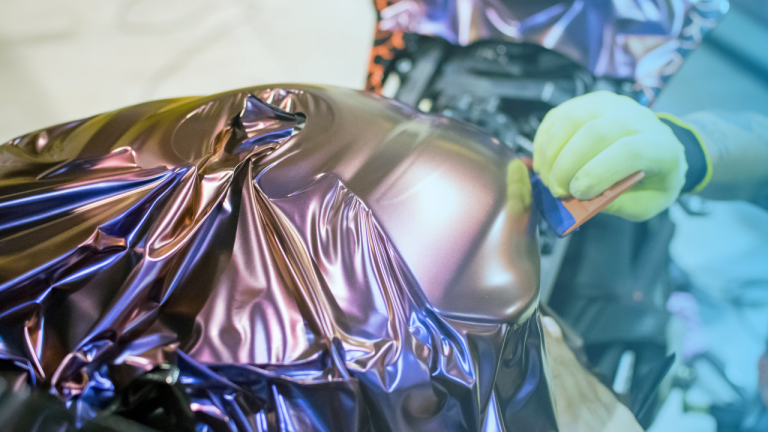
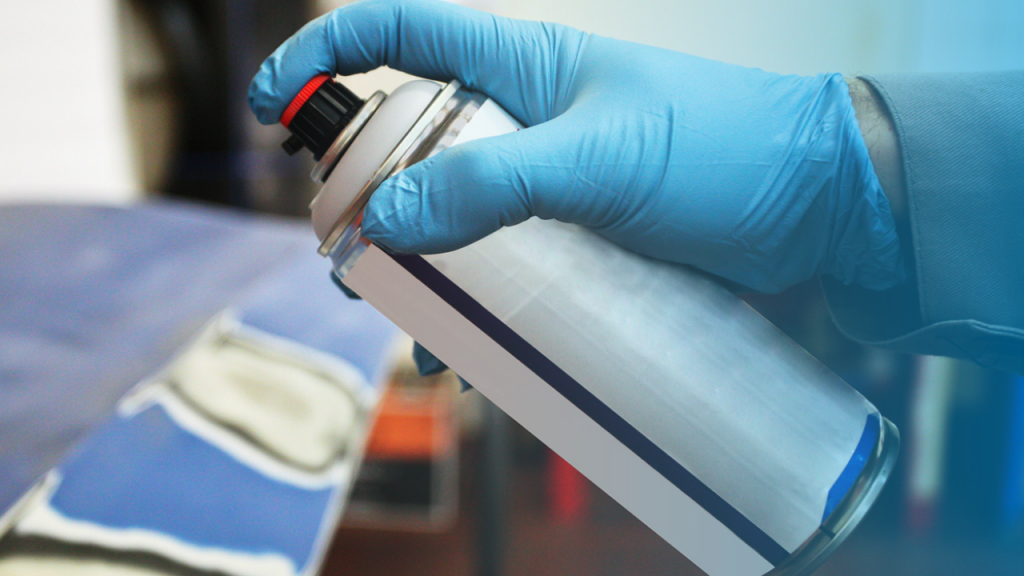
Motorcycles are a great way to get around, but they can also be a lot of fun to customize and personalize. If you’re looking to give your motorcycle a new look, one of the best ways to do it is by painting it. In this blog post, we will walk you through the process of how to paint a motorcycle step-by-step. We’ll cover everything from preparing the surface to applying the paint job. So whether you’re a beginner or an experienced painter, this guide has something for you!


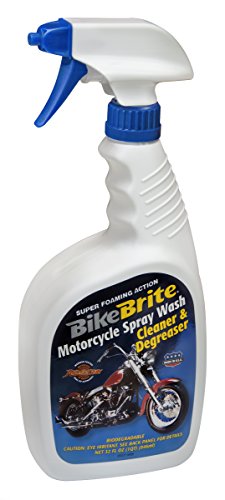
Bike Brite MC441G Motorcycle Spray Wash Cleaner and Degreaser
9.7
- Super Foaming Action
- Cleans and degreases motors, bearing and O-rings
- Brings new brilliance to painted surfaces
- Adds sparkle to bright work, wheels and trim
- Imparts a rich luster to vinyl, rubber and tires
- Biodegradable, non acidic, PH controlled and containing corrosion inhibitors; helps prevent water spots
- Refill Jug for our 32 Fl. oz. Part Number MC44 Ergonomic bottle
Bike Brite MC44 Motorcycle Spray Wash Cleaner and Degreaser - 32 fl. oz,Blue
9.5
- Super Foaming Action Trigger Sprayer
- Cleans and degreases motors, bearings and O-rings
- Brings new brilliance to painted surfaces
- Add sparkle to bright work, wheels and trim
- Biodegradable, non-acid, PH Controlled and contains corrosion inhibitors; Helps prevent water spots
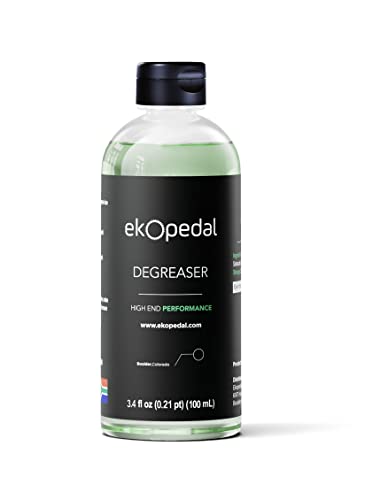
EkoPedal Bio Degreaser - Microbe based cleaner for bike and motorcycle parts
9.1
- SAFE AND EFFECTIVE - EkoPedal degreaser doesn't just remove tough greasy grime. The active ingredients bond to the oil and grease, breaking up the hydro-carbons and converting grease into its harmless constituent components.
- STRONG FORMULA - Next generation, professional strength, odor-free formula.
- REMOVES DIRT AND GRIME SAFELY - Feel at ease rinsing grease down the sink or in the yard. EkoPedal is 100% safe for the environment.

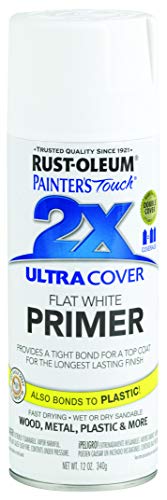
Rust-Oleum Painter's Touch 2X Ultra Cover, 12 Fl Oz , Flat White Primer
9.7
- Ideal for use on interior/exterior surfaces including wood, plastic, plaster, metal, masonry and unglazed ceramic
- Oil-based formula is low odor, resist chips and provides long-lasting protection
- Dries to touch in 20 minutes and covers up to 12 sq. ft. per can
- Durable formula provides excellent hide and goes on smoothly
- Flat primer provides a surface ready for painting

Rust-Oleum 2081830 Stops Rust Automotive Primer, 12 Fl Oz , Light Gray
9.5
- Primer spray paint is suitable for use on wood, metal and fiberglass surfaces
- Oil-based paint with Stops Rust formula provides rust resistant base coat for cars, trucks and other vehicles
- Covers up to 12 sq. ft. and dries to handle (and can be recoated) in 15 minutes
- High quality spray paint ensures long lasting, durable coating
- Flat finish provides superior adhesion and works with any topcoat

Rust-Oleum 7751830 High Heat Spray Paint, 12 Ounce (Pack of 1), White, 12 Fl Oz
9.1
- Ideal for updating the exterior of barbeque grills, wood-burning stoves, radiators, engines or other metal items
- Oil-based formula designed to renew and protect metal surfaces subject to heat up to 1000°F
- Covers up to 7-8 sq. ft. and dries to the touch in 30 minutes
- Retains excellent color retention after repeated heating
- Provides a rich satin finish that prevents rust, corrosion and chipping
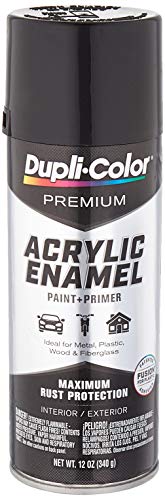
Dupli-Color Epae10000 Premium Acrylic Enamel
9.7
- Use for Automotive, motorcycle, lawn and garden
- Paint and Primer in one
- No prep, no sanding needed
- Ideal for metal, plastic, wood and fiberglass
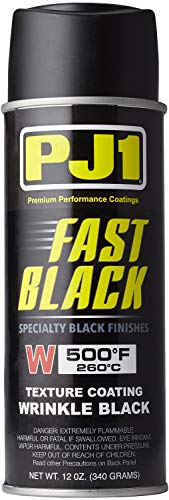
PJ1 16-WKL Wrinkle Black Spray Paint (Aerosol), 12 oz
9.5
- PJ1 Fast Black 500F Wrinkle Finish Paint was developed to be used for just about any part of the motorcycle (i.e. engine cases, cylinders, etc.) where you want to achieve a durable wrinkly texture coating that you can see and feel
- PJ1 Wrinkle Finish Paint applies easily and provides an extremely durable textured finish
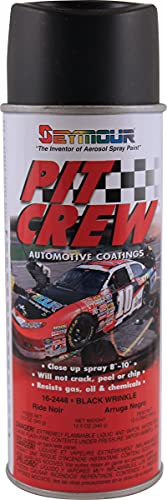
Seymour Automotive Specialties Spray Paint
9.1
- A professional grade coating
- Formulated to withstand heat, abrasion, gasoline, and lubricants
- Heat resistant up to 300˚F
- Seymour is thoroughly committed to protecting the natural environment
- Seymour products do not contain lead, cadmium, mercury, chromates or chlorinated solvents


