You are currently viewing How Many Coats of Primer do You Apply When Painting a Motorcycle?

How Many Coats of Primer do You Apply When Painting a Motorcycle?

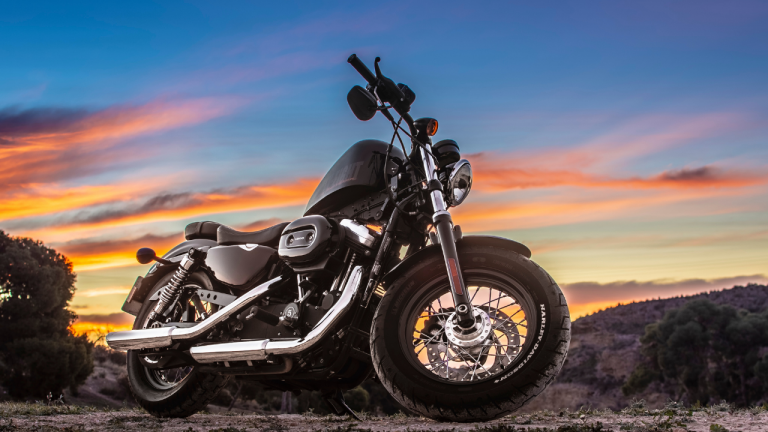
Motorcycles are a great way to get around, and they can also be a lot of fun to customize and paint. If you’re planning on painting your motorcycle, you’ll need to apply primer first. But how many coats of primer do you need? This blog post will discuss the different factors that affect how many coats of primer you should apply. We’ll also provide some tips for priming your motorcycle correctly!

What is a primer, and what does it do 

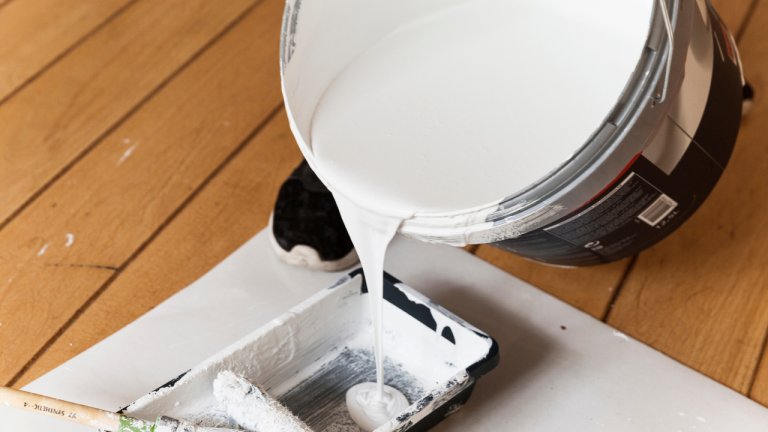
When painting a vehicle, it’s essential to use the proper primer. Primer is a substance that helps the paint to adhere better to the surface. There are two types of primer: etching and etching. Etching primer contains acid, which lets it etch into the metal and create a stronger bond with the paint. Non-etching primer doesn’t have acid, so it’s less likely to damage the metal. When deciding which type of primer to use, Consider the type of metal you’ll be painting and how smooth the surface is. If you’re painting over rust, you’ll need to use an etching primer. If you’re painting over bare metal or a smooth surface, you can use either type of primer. Just be sure to follow the instructions on the can for the best results.

Where Can I buy Primer?

There are a few places you can buy primer for a motorcycle. You can purchase it at a motorcycle dealership, an automotive store, or even online. Choosing a suitable primer is essential, as it will help to ensure that your motorcycle paint job looks its best. When selecting a primer, be sure to consider the type of paint you will be using and the surface you will be painting. For example, if you are painting a glossy surface, you will need a different type of primer than if you are painting a matte surface. Once you have selected the suitable primer, follow the instructions on the package to apply it to your motorcycle. With care and attention, you can quickly achieve a professional-looking paint job.

How much is the Primer

There’s no set price for a motorcycle primer – it depends on the make and model of the bike and the specific features you’re looking for. However, you can expect to pay anywhere from $200 to $500 for a quality primer. You may want to look for a less expensive option to get a feel for the product without breaking the bank if you’re starting. Once you’ve gotten more experienced, you can upgrade to a more feature-rich model. No matter your budget, there’s a motorcycle primer out there that’s perfect for you.

Zinsser 02004 Bulls Eye 1-2-3 All Surface Primer, Quart, White
9.7
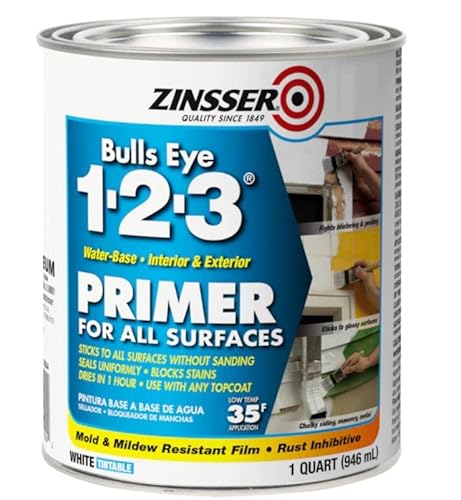
  • Interior/exterior use on new or previously painted drywall, concrete, wood, masonry, metal and glossy or difficult surfaces
  • Water-based formula seals uniformly and will stick to surface without sanding
  • Dries to the touch in 35 minutes, ready to topcoat in 1 hour and covers up between 87-112 sq. ft. per quart
  • Has excellent stain blocking resistance and can be used with any oil or latex topcoat
  • One coat hide saves time and money by improving hide and coverage of topcoats
Rust-Oleum 7582838 Professional Primer Spray Paint, 15 oz, Gray Primer
9.5
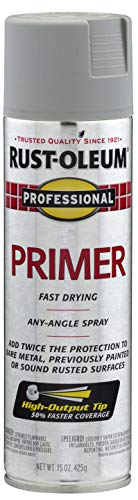
  • Ideal for use on ferrous, non-ferrous metal, wood, concrete, masonry and other such surfaces to prepare surfaces for painting, provide rust protection and a tough finish that withstands weathering
  • High quality, durable oil-based formula maintains consistent, corrosion-resistant color despite the elements and provides twice the protection of paint alone
  • Covers up to 14 sq ft, dries to touch in 15 minutes and ready for immediate topcoat application ; Indoor/outdoor
  • Commercial, industrial paint formula features a high output tip that can be sprayed at any angle
  • Primer provides a base for excellent adhesion and withstands demanding, heavy-use environments
VHT ESP304007 Prime Coat Light Gray Sandable Primer Filler Can - 11 oz.
9.1
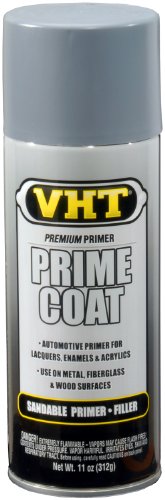
  • Premium primer filler is an excellent foundation for any enamel, acrylic or synthetic lacquer
  • Provides a tough, air dry base with excellent adhesion to intermediate and top coatings
  • VHT prime coat is specially formulated to fill scratches or pin holes
  • Multi-purpose product that can be used on metal, fiberglass, masonry, wood and most plastic surfaces
  • This item is not for sale in Catalina Island

How many coats of primer should you apply? 

A lot of paint jobs will start with a primer coat or two. A primer is a specially formulated paint that helps the subsequent coats of paint better adhere to the surface, provide better coverage, and achieve a more uniform final color. But how many coats of primer should you use? As a general rule of thumb, it’s best to apply two coats of primer. It will ensure good coverage and help you avoid any potential issues with the paint job down the road. Of course, there are always exceptions to this rule – if you’re painting over a dark color, you may need to use three coats of primer. Ultimately, it’s best to consult with a painting professional to get their expert opinion on how many coats of primer you should use for your specific project.

What are the benefits of using primer? 

Primer is a substance applied to the surface of a motorcycle before painting. It helps create a smooth, even surface that will allow the paint to adhere better and look more professional. In addition, primer can help fill in any imperfections on the surface of the motorcycle, providing a better foundation for the paint job. Primer is also generally less expensive than paint, making it a more budget-friendly option for those looking to improve their motorcycle’s appearance. Overall, using primer on your bike can help create a more professional-looking paint job while also saving you money.

How to apply primer on your motorcycle

After painting your motorcycle, it’s important to apply primer correctly to ensure a smooth, professional finish. Here’s a quick guide on how to do it:

1. Begin by sanding down the entire surface of the motorcycle. It will help the primer to adhere better.

2. Next, apply a thin layer of primer evenly over the surface. Use a brush or roller for best results.

3. Allow the primer to dry completely before proceeding to the next step.

4. Once the primer is dry, you can begin painting your motorcycle with your desired color. Apply several thin coats, allowing each coat to dry before adding the next.

5. Finally, once you’re satisfied with the paint job, apply a clear coat over the entire surface to protect the paint and give it a high-gloss finish.

How can you make sure you’re applying the primer correctly? 

Applying primer may seem like a simple task, but there are a few things you can do to ensure you’re doing it correctly. First, make sure the surface you’re applying the primer to is clean and smooth. Any dirt or bumps will show through the primer, so starting with a clean slate is essential. Next, choose the right type of primer for your project. There are different formulas for different materials, so be sure to select one designed for use on the surface you’re working with. Finally, take your time when applying the primer. Thin, even coats are best, so avoid painting on too much at once. With a bit of care and attention, you can ensure that your finished project will have a professional-looking finish.

Can you paint over a coat of primer without sanding it down first?

You might be wondering if you can paint over a coat of primer on your motorcycle without having to sand it down first. The answer is yes, you can! However, there are a few things you need to keep in mind. First of all, make sure the primer is fully cured before you begin painting. If it’s not, the new paint won’t adhere properly, and it will start to peel. Secondly, use high-quality paint designed for motorcycles. It will help to ensure that the new paint adheres properly and doesn’t chip or peel. And finally, make sure to sand the areas you’ll be painting with fine-grit sandpaper before you start. It will create a smooth surface for the new paint to adhere to. Follow these steps, and you’ll be able to paint over a coat of primer on your motorcycle without any issues!

Conclusion

So, how many coats of primer do you need to paint a motorcycle? The answer is that it depends on the surface and the primer you are using. In general, two thin coats of primer are better than one thick coat. Make sure to let each coat dry completely before applying the next one. You can ensure that your motorcycle will look great for years to come by following these guidelines!

Chris

Content manager and writer for MotorcycleAccident.org